Documents can be deleted or connected to other collections and their metadata can be edited. Additionally, it is possible to delete a single page and batch-change the page status
Previous step: Uploading files
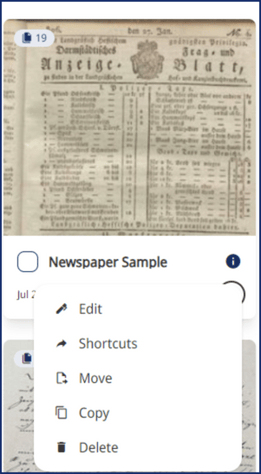
When you open a collection, you are presented with all the thumbnails of the documents contained in the collection.
Click on the three-dot context menu next to the document thumbnail to:
-
Edit the document's metadata:
Here you can edit the metadata (title, author, description, genre, script type, plus the extended document metadata for archives (authority, hierarchy, backlink and external ID)). At the bottom of the window, there is the non-editable metadata: in particular, the document ID is the unique identifier of your document.
- Create Shortcuts:
These shortcuts keep the document in the main collection while also providing access from other collections. The document remains unchanged in the server, including its unique ID. Any modifications made to the document will be visible in all linked collections, regardless of where the changes were made.
Shortcut documents are easily identifiable with a link icon. By accessing the metadata, you can view the list of collections that the document has been shared with. However, it is important to note that you can only delete the document from its main collection. - Move/Copy the document:
You also have the option to either copy your documents to a different collection, allowing them to be present in both the original and new collections or completely remove them from the original collection by moving them to the new one. - Delete the document;
Add new pages to a document:
To upload new images to the document, simply open the document and click on the Add pages button located in the top right corner. You can follow the instructions provided here to complete the process. To rearrange the pages in the chosen document, just select the page, access the three-dot menu, and choose Move page from the options to relocate the page to a different position. Specify the new page number and click Move page to finalise the change.
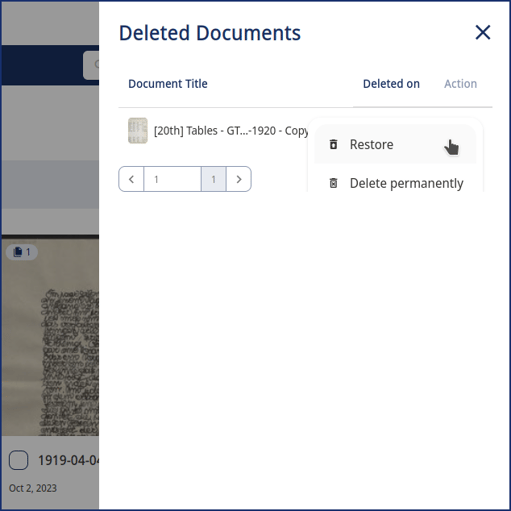
Restore Documents:
Deleted documents are not immediately removed; instead, they are kept in the recycle bin for a period of 14 days. This allows you to either restore them or permanently delete them. To restore a deleted document, simply access the recycle bin, locate the deleted document, and click on the three-dot context menu. From there, select the Restore action to bring the document back to its previous location and state.
In the top-right corner of the page, you have the option to search for documents in the collection by their name or ID. You can also switch to a table view to easily navigate and locate the documents you need.
Sort and organise the document pages by page status:
When you select a document, it will open, allowing you to view all the thumbnail images of its pages. You can filter your view and effortlessly navigate through the pages by sorting or filtering them based on their status.
To select the pages to process, you can:
- flag the pages you are interested in one by one;
- type the page numbers in the “Pages” field (from-to) and confirm this selection with the check mark;
- select all pages, by clicking on the button at the top left corner that displays the number of selected pages (e.g., "0 selected");
- filter pages based on their page status, e.g. In Progress or Done by using the "Filter" option.
You can also change the status of multiple pages at once. Simply select the pages you want to update, then click on the three-dot context menu in the blue menu bar, located next to the 'Train model' button. From there, choose the option Set Status for the selected pages and choose the desired page status.
Additionally, you can utilise the three-dot menu next to each page thumbnail to either delete the page or view its metadata.
Transkribus eXpert (deprecated)
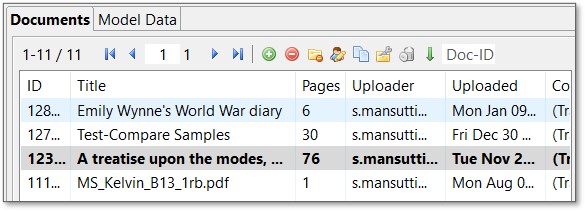
When you open a collection, the list of all its documents appears in the Server tab, in the Managing & Tools section. Double-click on a document to open it.
The toolbar at the top of the documents’ list is extremely useful for managing your documents:
- Green + button: to link the document to another collection: it only creates a link to the document in the new collection; it does not duplicate it. The document in the server (and the doc ID) remains one; all saved changes are visible in all collections to which the document is linked, regardless of the collection in which they were made.
In the “Collections” column of the document list, you can see all the collections to which the document is linked.
Be careful when deleting a linked document because it will be deleted in all collections with which it is shared. - Red - button: to unliked the document from the opened collection. You will receive an error message if you try to unlink a document that is only present in one collection: link the document to another collection and then unlink it from this (if you want that the images and transcriptions remained within Transkribus for your future use). On the contrary, if you want to eliminate the document from the server definitely, delete it.
- Delete button: use it to delete a document (images, transcriptions, metadata…) from Transkribus. Deleted documents will remain in the Recycle bin for two weeks: after that, they will be discarded, and it will be impossible to restore them.
- Manage users: see the Managing Users page.
- Duplicate button: to duplicate the selected document into another collection. It creates a copy of the document in the server, assigning it a new doc ID. The original document and its copy do not maintain any link, and the changes made in one of them do not appear in the other (differently from what happened when you link a document to another collection). You can decide to copy only the pages with a certain status; to copy all the available transcriptions, i.e. all the saved version, not only the latest. If you select more than one document, you can choose to copy all the selected into one new document.
- Document Manager: it enables to:
- Batch update the document status of all the pages of a document or some selected ones;
- Add new page(s) to a document: some selected pages or all the pages of the document. Select the document and click the green + button, then select the image(s) you want to add. It will be added as the last page, and then you can move it to the right position.
- Add local transcripts (PAGE XML): if you already have the PAGE XML of your documents with the layout coordinates and transcripts, you can import them from here. You need first to prepare a folder with the PAGE XML file for each page, preferably with the same filename of the images. From the Document Manager, select the folder, synchronise the transcriptions and the images (if they have the same filename, no issue should arise here) and click ok. You will now see the images with the text regions, line regions, baselines and text (if present) according to the PAGE XML file.
- Delete one or more pages from a document. This action cannot be undone.
- Set the transcript with a selected status as the latest version.
- Create a Sample: it is useful when you want to have a representative sample of all your documents to train a Text Recognition or Layout model. Select the documents to include in the sample, click “Add to Basic Sample”, and then “Create Sample”. You can choose to select the sample randomly (x pages from the basic sample), systematically (the x-th page from each document), or to select x pages from each document. A new document will be created within the same collection.
- Recycle bin: it contains the deleted documents in the last two weeks. If you delete a document by mistake, here you can restore it. Note that after two weeks from the deletion, the document will be discharged definitely, and it will not be possible to restore it anymore.
Finally, to edit the metadata of a document, go to the Metadata-Document tab in the Managing & Tools section. Here you can edit the title, author, genre, script type, date, and description; plus, you can add some extended document metadata (authority, hierarchy, backlink and external ID).
At the bottom of the section, there is also the possibility to define and add your own metadata fields, as well as edit the Editorial Declaration.
Since there are always several ways to produce a correct transcript of a text, it is important to be transparent about the way in which the transcription was undertaken, especially if you aim to create a scholarly edition. The “Editorial Declaration” is the space where you can state the editorial choices you applied during the (manual or automatic) transcription process. It offers a set of predefined features and options. Moreover, you are able to create your own descriptions and store them together with your document. The Editorial Declaration can be then exported as an XLSX file.